
Accent walls have become a popular choice in home decor. With the right design, an accent wall can create depth and focus, transforming a room from ordinary to extraordinary. DIY wall paneling offers an affordable and creative solution for achieving this effect. In this article, you’ll discover step-by-step instructions for creating beautiful accent walls with DIY wall paneling.
Planning Your Design
You’ll want to start by selecting the right wall for this DIY project. Consider visibility; you’ll want to focus on walls that are focal points, such as the wall behind your bed or sofa. These areas naturally draw the eye and benefit most from a design upgrade. For example, in a living room, an accent wall can create a cozy atmosphere. While in an office, it can inspire creativity.
Design Options
Once you’ve selected the wall, it’s time to consider your design options. Here are a few popular accent wall ideas to explore:
- Board and Batten: This classic design features vertical boards with spaces between them, creating a modern farmhouse aesthetic. You can adjust the width of the battens to achieve a more customized look.
- Shiplap: Shiplap is characterized by its horizontal boards, often with a slight gap between them. This style adds warmth and texture, making it a popular choice for casual spaces.
- Grid Pattern: A grid pattern involves creating a series of squares or rectangles on the wall. This geometric style offers a contemporary flair, suitable for modern homes.
- Herringbone: Herringbone patterns create a dynamic, zigzag effect that adds sophistication and depth to your wall. This design requires more precise cutting but delivers stunning results.
- Custom Designs: If you’re feeling creative, consider designing a custom panel layout. Combine various styles or create unique shapes to reflect your personality.
Color Selection
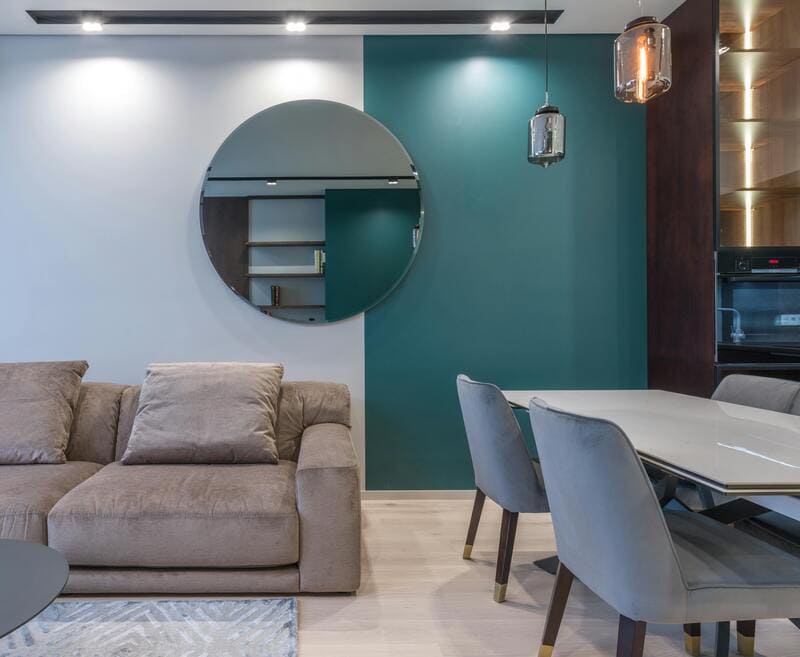
Choosing the right color for your paneling is essential. Consider the overall color scheme of the room you’re working in. Think about the mood you want to portray. Bright colors, like teal or yellow, energize a space, while soft grays or whites promote tranquility. To ensure harmony, test color swatches on the wall before making a final decision.
Step-by-Step Guide to Installing Your Accent Wall
Gathering the right materials is essential for a successful DIY accent wall. Here’s a list of what you will need:
- Pre-Primed Boards
- Paneling Adhesive
- Wood Filler and Caulk
- Paint and Primer
- Miter Saw
- Nail Gun
- Measuring Tape
- Carpenter’s Square
- Putty Knife and Sandpaper
Step 1: Prepare the Wall
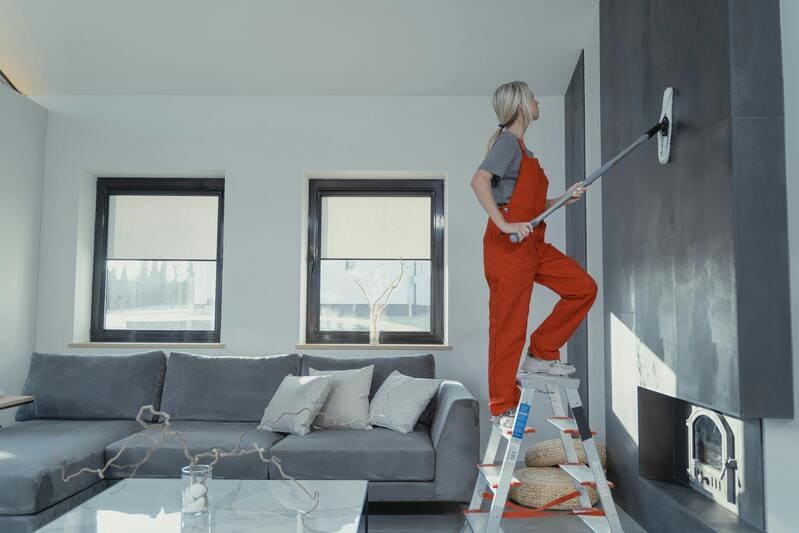
Before starting your DIY project, ensure the wall is ready for paneling. Begin by cleaning the wall with a damp cloth to remove dust and debris. Inspect the surface for any damage, such as holes or cracks, and repair them using spackle or patching compound. Allow any repairs to dry completely. A well-prepared wall provides a solid foundation for your paneling, ensuring better adhesion and a polished look.
Step 2: Measure and Mark
Accurate measurements are critical for a successful installation. Use a measuring tape to determine the height and width of the wall where you plan to install the paneling. Start at one corner and mark the desired height of the panels with a pencil. Then, draw vertical lines at regular intervals to indicate where each panel will be placed. This guide will help you maintain even spacing and alignment throughout the installation process.
Step 3: Cut the Boards
Once you have the proper measurements, it’s time to cut the boards to size. Use a miter saw for precise cuts. For horizontal boards, measure their lengths based on the wall width, while vertical boards should be cut to the marked height. It’s super important to double-check your measurements before doing any cutting. This will help you avoid wasting materials. Remember, a well-fitted board enhances the overall appearance of your accent wall.
Step 4: Install the Panels
Start by attaching the horizontal boards. Apply a generous amount of paneling adhesive to the back of the board. Position the board against the wall, aligning it with your marked lines. Secure it with a nail gun, placing nails every 16 inches for a strong hold. This step creates a sturdy base for the vertical panels.
Next, fit the vertical boards between the horizontal ones. Use the same adhesive method, ensuring each board is level and flush against the previous one. Nail each vertical board in place, maintaining consistent spacing for a uniform look. This layered effect adds depth and character to your accent wall.
Step 5: Finishing Touches
After installing all the panels, it’s time for the final touches. Use a putty knife to apply wood filler to any visible nail holes and gaps between the boards. Once the filler dries, sand the surface until smooth. This step ensures that the paint adheres evenly and the wall looks flawless. Finally, apply a coat of primer to seal the wood, followed by your chosen paint color.
Wrapping Up
With the right materials and steps, you can achieve a stunning accent wall that reflects your personal style. Whether you prefer a sleek, modern look or a rustic, cozy feel, the options are endless. Each choice, from the type of paneling to the color palette, allows you to express your individuality and transform your space into something uniquely yours. Embrace the process, learn as you go, and take pride in crafting something that enhances your home. If all else fails, reach out to a accent wall luxury designer like this one that serves Arizona and California for a little help.