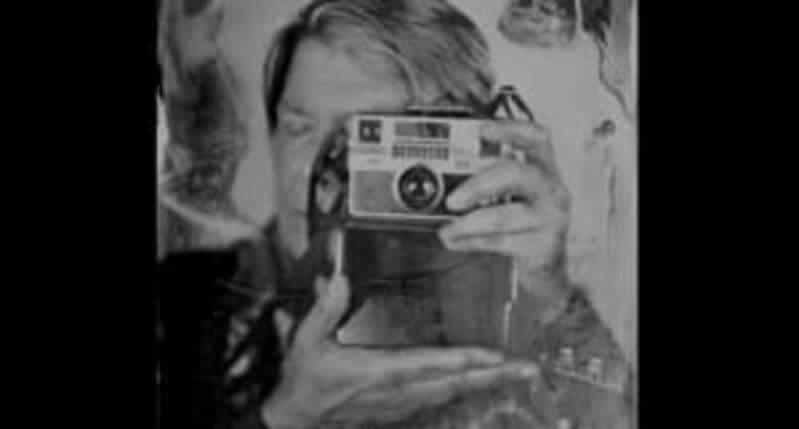
Wet photography involves using liquids to create photographic images. This method can create unique visual effects that add texture, depth, and fluidity to images. It is a versatile and powerful technique that allows for the exploration of new creative image presentations. Through the unpredictability of liquid manipulation, wet photography can transform photos from ordinary to extraordinary. Here, we consider factors involved with wet photography.
A Brief History of Wet Photography
Wet photography has existed since the 1850s and is one of the earliest forms of photography. It originated as the wet plate collodion process, in which glass plates were coated in light-sensitive chemicals and developed while still wet.
The collodion process was credited to Fredrick Scott Archer in 1848 and published in 1851. By the 1860s, this method had all but replaced its predecessor in photographic processing, the daguerreotype. Present-day variations refer to the process of incorporating liquids while shooting and developing the images.
Advantages and Disadvantages of Wet Photography
Wet Photography creates very detailed images. When poured onto glass sheets, prints can be created from the image. This type of development is also a quicker process than analog print photography. There are disadvantages to this process, though. One is that the artist must finish development while the plate is still wet.
Once the plate dries, it is no longer sensitive to light. Temperature and humidity are factors that one must consider with this type of image development. The chemicals being used should always be at the same temperature. If shooting on location, a mobile darkroom will be needed. Some chemicals involved are dangerous if not used properly. Proper PPE, such as nitrile gloves, masks, and safety goggles, are required.
Materials and Equipment for Wet Photography
Several materials are needed for wet photography. Salted collodion, silver nitrate solution, developer, and fixer are the solutions needed. There are premixed options where the chemicals are concerned. Black aluminum, glass, or acrylic plates will be required as well. It is important to note that you can coat anything with collodion as long as it fits into the plate holder. Finally varnish to seal the plate upon development will be needed.
The equipment needed to perform wet photography includes several items. A large-format camera with a modified plate holder is a must. Any camera where a plate can be loaded will do the trick. A silver nitrate tank or tray and a precision scale will be required. Laboratory-grade equipment is strongly recommended, including bottles, measuring cylinders, tubes, etc.. Standard-use glass breaks too easily. Finally, nitrile gloves are necessary for this process.
The Wet Photography Process at a Glimpse
There are a few steps involved in wet photography. First coat the plate in salted collodion evenly. Pour excess chemicals back into the bottle. Next place the plate into the silver nitrate solution for approximately 3 minutes. This makes the plate light-sensitive. Next expose the plate to light through the use of a large format camera.
Next, through development, the ferrous sulfate transforms halides into pure silver on the wet plate. Water then stops the developing process. The artist then applies sodium thiosulfate solution, which washes away non-exposed silver from the plate, and the magic starts to happen.
The image appears on the plate. At this point, the image plate is washed for 30 minutes. This prevents the fixer from dissolving the image over the years. Finally, a varnish is added to [prevent the silver from turning black as time passes.
For more Great Content
Total Apex is an all-encompassing content producer. We provide heavily detailed articles every day on entertainment, gaming, sports, and so much more! Check out all our great sports content Total Apex Sports. Check us out on X @TotalApexEandG and our other sites: Total Apex Sports Bets and Total Apex Fantasy Sports.


